Is it brown butter or is it browned butter? My research has brought back answers for both. Whichever way you want to say it – I do believe it may be God’s greatest gift to man, much as I love my children. And around this time of year I can’t get enough of it. The brown butter, not my kids. But I’ll allow that they’re pretty great too. I have plans to put brown butter into a pumpkin sheet cake in October, in a pasta sauce with sage to nestle homemade ravioli into later this month, and perhaps most famously into my chocolate chip cookies on another occasion. Whether you’re using it in sweets or dinner, it adds a delicious nuttiness that is so distinct and dare I say, life changing? Now, if you have no idea what I’m talking about, you might want to read this article on achieving brown butter rather than burnt butter. You probably think the cake should be the main topic of conversation here and I love it too! It’s a winner! The people will love the cake! But the frosting, oh yes, the frosting, is the part of this recipe that takes it to the next level.
Applesauce Cake with Brown Butter Frosting
For the cake:
Baking spray
2 cups unsweetened applesauce
1¼ cups packed light brown sugar
¾ cup canola oil
3 tsp pumpkin pie spice (or a combination of cinnnamon, ginger and nutmeg)
1 tsp lemon zest
1 tsp vanilla extract
2 large eggs
2½ cups all-purpose flour
1 tsp baking powder
1 tsp baking soda
½ tsp salt
For the frosting:
1 ½ cup (3 sticks) unsalted butter, divided. Two sticks should be softened to room temperature. The third stick, you’ll brown.
4 cups powdered sugar
2 Tbsp whole milk
½ t vanilla
¼ tsp salt
Prepare the Cake:
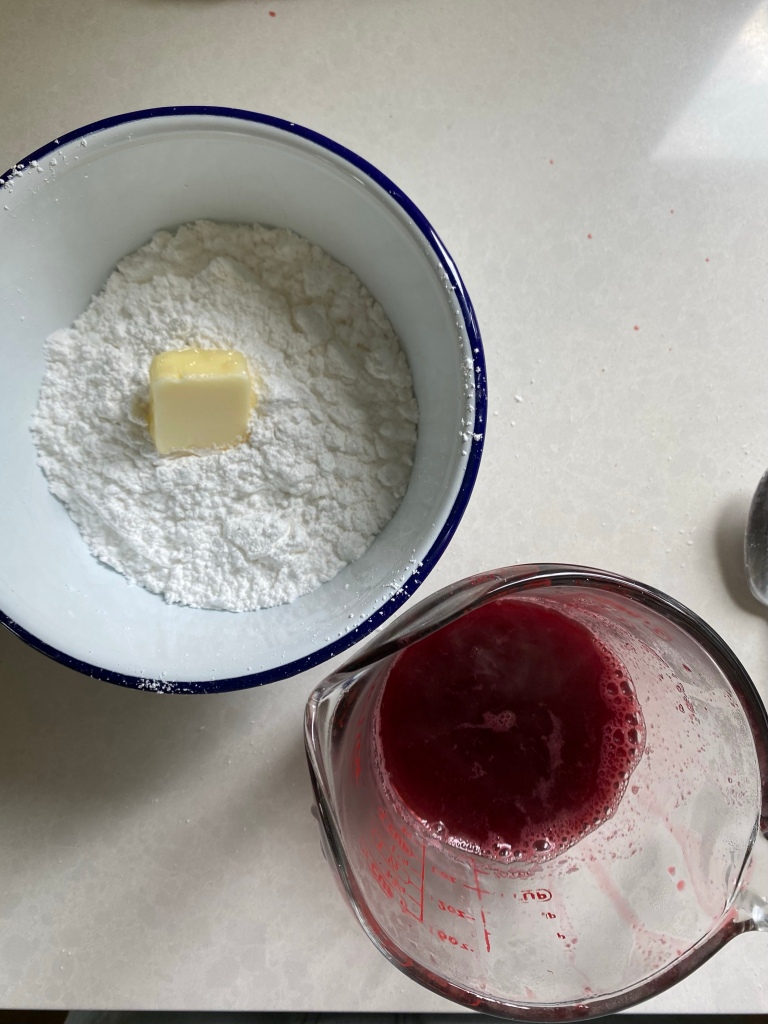
Preheat oven to 350 degrees. Coat a 9 x 9 inch pan with baking spray and dust with flour – alternatively you could make this in a 9 x 13 pan for a thinner cake or even in muffin form, but be sure to adjust your baking time. In a large bowl, whisk together brown sugar, oil, pumpkin pie spice, lemon zest, vanilla extract, eggs, and applesauce in a large bowl until combined. Whisk in flour, baking powder, baking soda, and salt until just combined. Spoon batter into prepared pan. Bake in preheated oven until a wooden toothpick inserted in the center comes out clean, 40-50 minutes. Transfer to a wire rack,
and cool completely in pan, about 1 hour.
Prepare the Frosting:
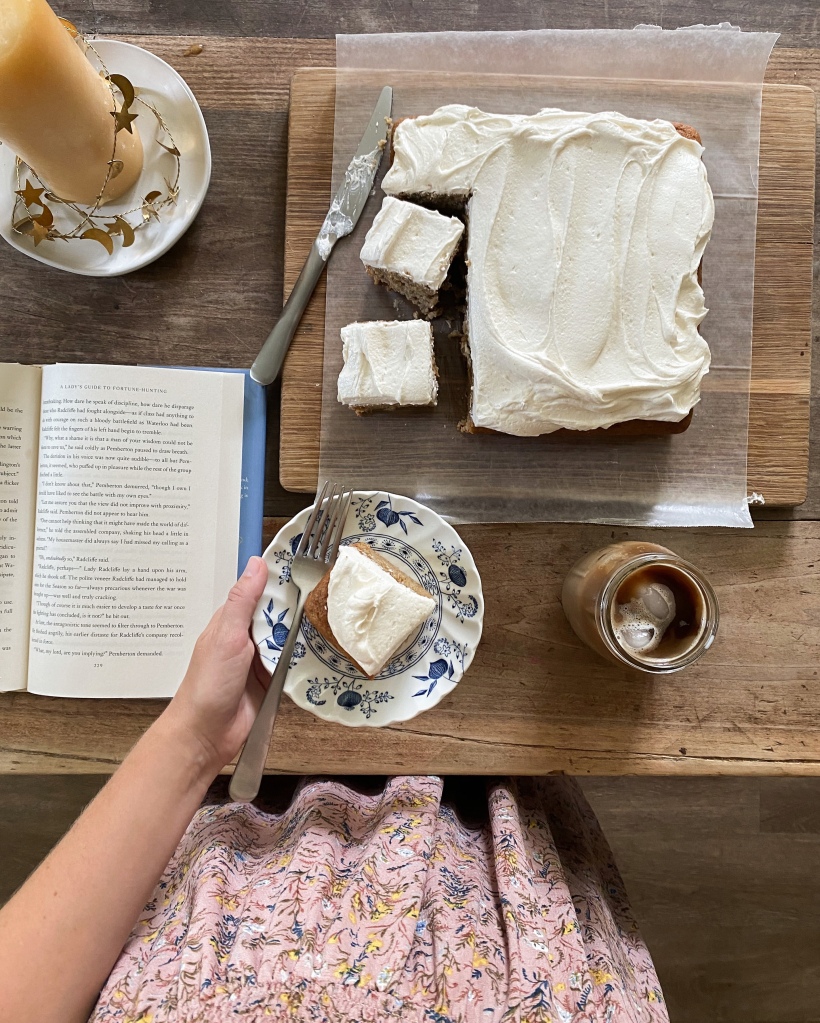
Melt 1/2 cup (one stick) butter in a medium saucepan over medium until it begins to bubble, forms little brown bits, and smells nutty. Transfer to a freezer safe container and put in freezer for 10-15 minutes or until room temperature. In a mixer, combine brown butter, 1 cup (2 sticks) softened butter, powdered sugar, milk, salt and vanilla. Mix on medium for about three minutes or until fluffy. Spread frosting generously over cooked cake with an offset spatula, cut and enjoy (preferably with a book and iced coffee on the side).
You will most likely have extra frosting, but the frosting is truly the best part of this cake. Just put it in a jar, and store in the fridge for another cake next week! This cake, after all, will not last long on your counter if your house is anything like mine.